CenturyLink email settings for Outlook [Set up Guide]
Smooth communication through email has become a key tool for interconnecting society. CenturyLink email has gained immense popularity for providing hassle-free email services. Accurate CenturyLink email settings remain an essential part to maintain reliable email services. This blog will explore in detail how to set up Centurylink email via IMAP, POP3, and SMTP server. After that, it will also explain CenturyLink's email settings for Outlook.
How To Setup CenturyLink Email Settings
CenturyLink provides the number-one email service for both personal and professional purposes. Its email settings are not important if using email via the webmail interface. But, while using a desktop email program or phone, configuring its settings becomes important. Key takeaways from Centurylink's Email Settings are:
CenturyLink email setting via POP3
CenturyLink SMTP setting
CenturyLink email setting via IMAP
CenturyLink email setting via POP3
POP3 stands for Post Office Protocol Version 3. It is a popular protocol for transferring emails from a mail server to a local client device.
Check the following settings for the incoming mail server:
● The pop.centurylink.net POP server name
● The recommended port value is 995.
● Click SSL when asked to choose a security option.
CenturyLink SMTP setting
The setup information for sending emails is called CenturyLink SMTP (Simple Mail Transfer Protocol) settings. It contains information on the server, port, encryption, and authentication.
Check the email settings for the outgoing mail server:
● The server's name is SMTP.centurylink.net.
● 587 is the port value.
● Whenever TLS is offered, choose it.
● Type your full mail ID as your username.
● The server limit is 20 MB by default.
● Send to 100 contacts maximum.
● The cap is set at 100 per hour if you use webmail.
● The hourly SMTP transmit limit is 500.
● The cap is set at 50 emails per 5 minutes if you use IP for email transmission.
CenturyLink email setting via IMAP
CenturyLink's IMAP settings permit email retrieval. IMAP refers to the Internet Message Access Protocol. It specifies server, port, and security information for accessing emails across devices.
Fill in these details in the field of incoming server settings:
● E-mail.centurylink.net is an IMAP server.
● 993 is the server's port number.
● When selecting a security type, be sure to choose SSL.
● When asked for the username, be sure to use your full CenturyLink email address.
● The server limit is 20 MB by default, just like POP3.
● The send-to cap is also limited to 100 contacts, but you may easily add another cap.
● There is a predefined restriction of 100 emails per hour if you are utilizing a webmail provider.
● For SMTP, the cap is $500 per hour.
● You can only send 50 emails every 5 seconds using the IP-based mail service.
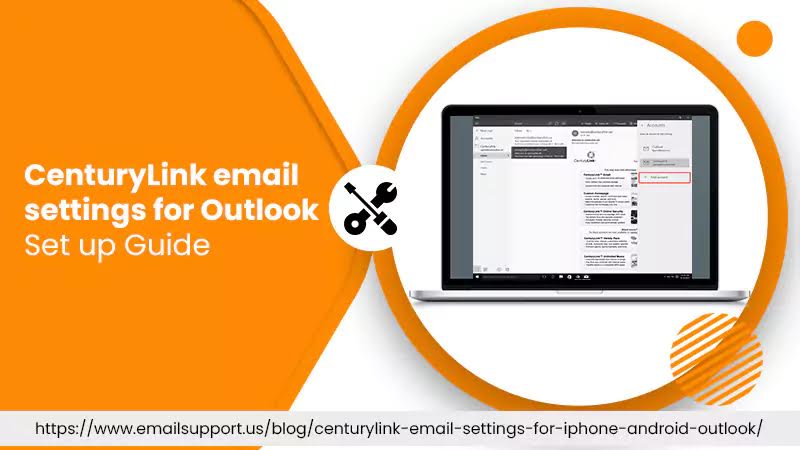
Steps to setup CenturyLink email settings for Outlook 2010
Configure Centurylink email settings for Outlook 2010 to view and manage emails from your favorite client with ease.
Follow these steps to set up CenturyLink email settings:
● Choose "File | Info | Account Settings drop-down | Account Settings."
● Go to the "E-mail" menu and click "New."
● Select "Manually configure server settings or additional server types" by selecting the radio option next to it, then click "Next."
● Choose "Internet E-mail" and then "Next."
● Fill in the necessary areas with your name and email address, then choose "POP3" from the Account Type drop-down menu.
● As the incoming mail server, enter "pop.centurytel.net" (without quotes here and everywhere).
● As the outgoing mail server, type "smtpauth.centurytel.net".
● Enter both your password and your full Centrytel.net email address
● Select "More Settings" from the menu.
● Toggle the radio button next to Use the same settings as my incoming mail server" and check the box next to "My outgoing server (SMTP) requires authentication" by selecting the "Outgoing Server" tab.
● On the "Advanced" tab, click.
● In the "Incoming server (POP3)" column, enter "995" and select the checkbox next to "This server requires an encrypted connection (SSL)" in the dialog box.
● Choose "TLS" from the drop-down menu under "Use the following type of encrypted connection" and type "587" as the outgoing server port number.
● Select "Leave a copy of messages on the server" and, press "OK." Outlook will erase your mail from the server after it has been downloaded if you leave this option unchecked.
Wrapping Up:
Hopefully, you can configure CenturyLink email settings via POP3, IMAP, and SMTP servers. This comprehensive guide has uncovered the steps to set up CenturyLink email settings for Outlook 2010. For Additional consultation, connect with an email support expert.
Comments
Post a Comment